You already know of my fondness for tomatoes, and towards the end of summer, an abundance of these beauties can be purchased for a song. You know that song, right? You like tomato, and I like tomahto…
Every year I make and freeze a big batch of fresh sauce so that during those cold RI winters I can pull out a container, turn the thermostat a little higher, put on a pair of shorts and enjoy the flavor of summer.
This year I decided to try my hand at canning. As my good friend Jean Marie asked, “why is it called canning if you’re putting it in a jar?” Good question!
From what I’ve read, glass jars were used back in the day but proved difficult to seal. The first tin canister was patented in 1810 and was easier to use and less expensive. Canister was shortened to can and canning became the common term for food preservation. The word stuck even when John L. Mason invented the jar with a threaded screw and matching lid. That along with Francois Appert’s boiling water method gave an easy, safe way for us to preserve food in glass.
And besides, it looks nicer!
Another term for food preservation is “putting up,” i.e., putting the jars on a shelf in a dark room. Food can also be “laid down” as meat is laid down after salting or brining. Putting up and laying down is a subject for another post.
Before you attempt canning, I strongly recommend you do some research. There is equipment that you will need, and there are food safety concerns.
I did quite a bit of research, bought all of the equipment and was almost constantly double checking everything I was doing. I feel confident about my end result, but if anyone has used this method, I would love to hear from you in the comment section! I have to be honest, the “safe food” precautions kind of scared me. You should read the information provided by the National Center for Home Food Preservation.

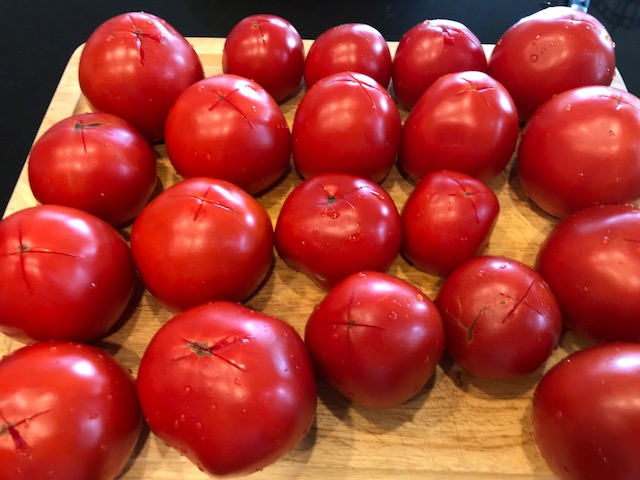
I decided to try a small batch of tomatoes to start. I used 20 tomatoes, and I’m guessing it was about 15 pounds. I got 5 pints. Here you go!
Canned Tomato Sauce Recipe
Ingredients
- About 20 tomatoes
- Bowl of ice water
- 1 Head of garlic (chopped)
- 1 Onion (cut into quarters)
- A good amount of olive oil
- Few handfuls of basil (and whatever other spices you like to add to your sauce)
- Salt & pepper

Instructions
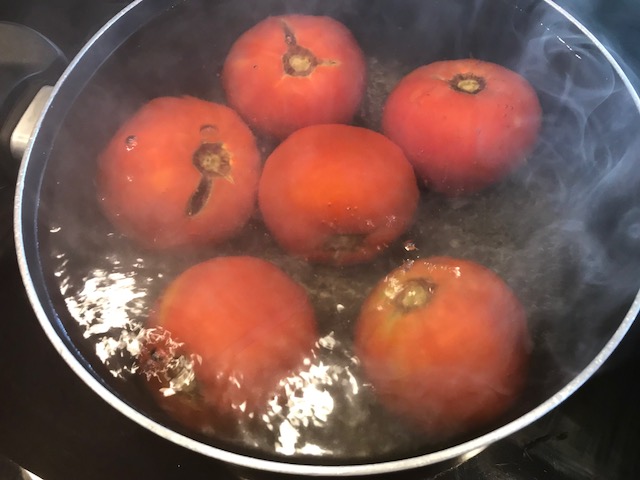
- Bring a pot of water to boil.
- Have a bowl of ice water ready.
- Wash your tomatoes and score the bottoms with an X.
- Once the water is boiling add tomatoes, a few at a time, and leave them in until you see the skin start to pull away. (This is just a couple of minutes.)
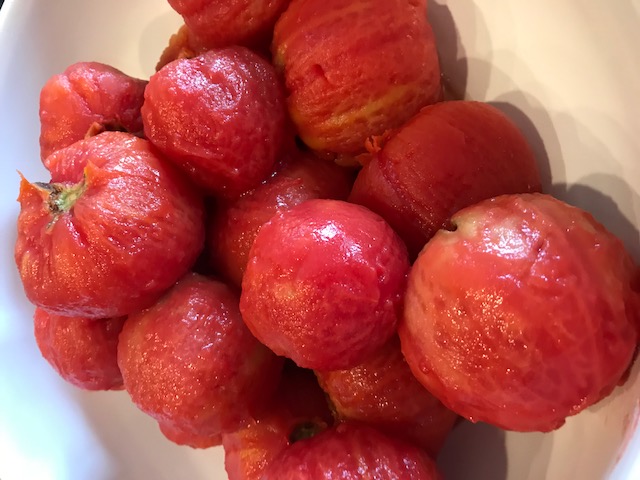
- Remove with a slotted spoon and put into the ice water to stop the cooking process and to make the tomato easier to handle. Just leave the tomato in the ice water for 15 seconds or so then move to your cutting board to easily remove the skins. They’ll peel right off!

- Once the skins are removed, and the tomatoes are cool enough to handle, put a strainer over a large bowl and start squeezing.

- If you have a food mill, use it, it’s easier. This helps to break up the pulp and remove the seeds.
- Once finished, push through any juices or pulp. Now you’re ready to cook!

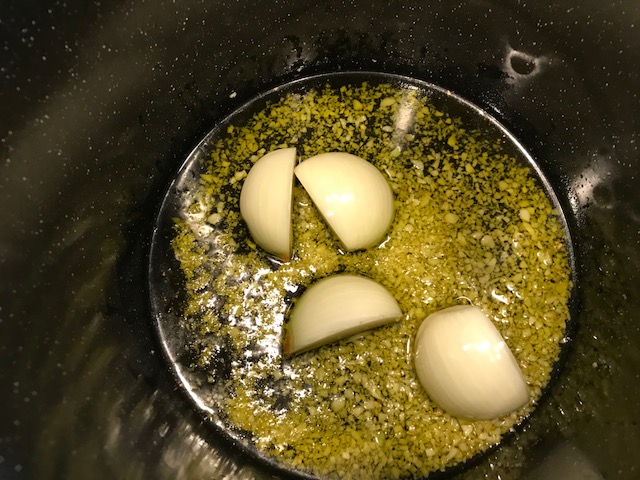
- I finely chopped one head of garlic, cut an onion into quarters.
- Pour about ¼ inch of olive oil into your pan and warm it up.
- Add the finely chopped garlic and onion until warm until fragrant.
- Add all of your prepared tomatoes.
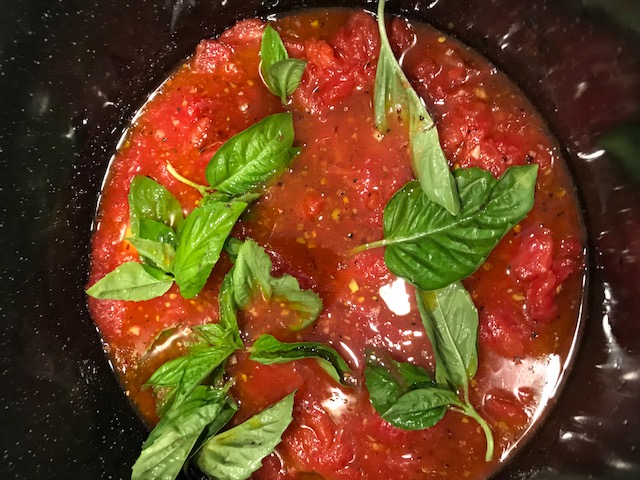
- Toss in a big bunch of basil.
- Add salt, pepper and whatever other dried ingredients you like. Personally, I like to spice things up a little bit with red pepper flakes!
- Let simmer on low for about an hour and a half.
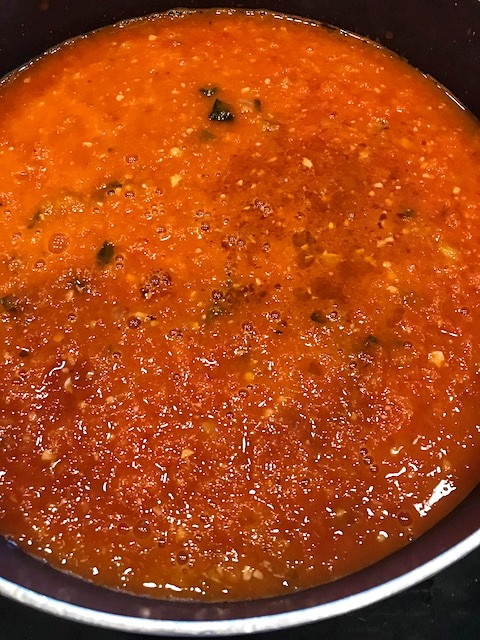
- I removed the onion and basil stems, then put the sauce in the blender and pulse on low until you get an almost smooth consistency.

Now you are done with the cooking. But for canning, you need to keep your tomatoes really warm!
Canning The Tomato Sauce
That was the easy part. Next up, canning the sauce!
Instructions
- Prepare to can by being sure your jar and lids have been washed in warm, soapy water and are rinsed and drained thoroughly.
- Have your “canner” filled with water and place the jars on the rack.
- Cover and bring to a simmer over medium heat. Keep the jars hot until you are ready to fill them.
- Put your flat lids in a saucepan and cover with water and simmer over low-medium heat. Do not boil. Keep warm until you are ready to use.
- Working with one jar at a time, use your jar tongs (yes you really do need these) to remove the jars from the hot water.
- Put ¼ teaspoon citric acid into the bottom of each jar.
- Using a ladle and a canning funnel, fill your jar to the appropriate level leaving space at the top (most jars are marked).
- Slide a small nonmetallic spatula or plastic knife around the hot mixture to remove air bubbles. Wipe the jar, rims, and threads clean.
- Center the lid on the jar and screw on the top.
- When you are finished, return the filled jars to the rack in hot water in the canner. Lower the rack and be sure the water level is at least 1” above the tops of the jars.

- Cover the canner and bring water to a full boil. Once boiling, begin the processing time. (My processing time was 40 minutes.)
- Turn off the heat and remove the cover and let the jars sit for 5 minutes then using the tongs, remove the jars to a rack or heavy towel.
- Do not tilt, turn or shake the jars and do not dry them. Just leave them alone, ok?!
- Let the processed jars stand at room temperature for 24 hours and then check to see that your tops are sealed tightly. If not, you will need to refrigerate and use within two weeks. I didn’t have any problem with this at all.
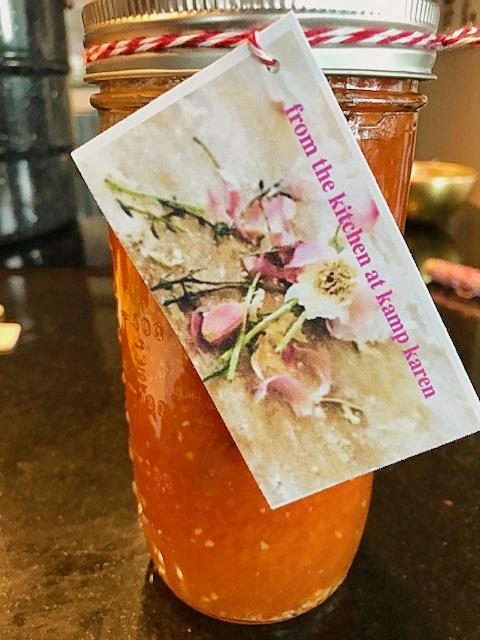
As far as storage, you should keep your jars in a clean, cool, dark, dry place and for best quality temperatures should be between 50 and 70 degrees.
I photographed my way through the process in hopes that you will see what I’m saying 😉
Good luck and please let me know if you have any tips, suggestions, ideas, etc., Happy canning!
Karen Sagaspe is a Rhode Island native who enjoys food, wine, entertaining and travel. Cooking for friends and family is one of her favorite things to do. She has traveled extensively, lived in Florida, Paris, France and Cape Town, South Africa. When she isn’t in the kitchen, Karen is probably reading a book surrounded by her two Shih Tzu.